When considering painting wood, whether to renovate a piece of furniture, enhance a fence, or refresh woodwork, meticulous preparation is essential for achieving a flawless finish. This preparatory phase is often overlooked, yet it determines the quality and durability of the final result. It includes cleaning, sanding, applying a primer, and choosing the right paint. Each step must be carried out with care and precision to ensure a smooth and even finish, ready to receive the layer of paint that will enhance the wood.
The preparatory steps for wood ready to paint
Sanding the wood: The first decisive action, sanding determines the quality of the surface to be painted. Start with coarse-grit sandpaper to strip away old finishes and continue with finer grit to refine. The surface should become smooth, without irregularities. Pay attention to the direction of the grain to avoid damaging the wood structure. Use an orbital or random orbital sander, or a sanding block for delicate areas. Regularly clean the surface with a dust brush or vacuum to remove wood debris. When the wood feels soft and uniform to the touch, it is ready for the next step.
Cleaning the surface: Before applying any product, it is necessary to degrease the wood. This fundamental action ensures perfect adhesion of the primer. Use trichloroethylene with caution or, for a less aggressive alternative, opt for an alkaline detergent. The degreasing must be thorough and uniform across the entire surface to be treated. Only after this meticulous cleaning can you move on to the step of repairing any imperfections.
Preparation and repair: Holes and cracks must be filled to achieve a flawless surface. Use an appropriate wood filler, taking care to smooth it out well to blend with the rest of the surface. Once dry, sand lightly to even it out. Then apply a bonding primer that will serve as a uniform base for the paint. This initial layer, essential for optimal adhesion, must be applied evenly, without neglecting corners and edges.
Techniques and tips for applying paint on wood
Choosing tools and products: Opt for quality brushes or rollers suitable for the type of wood and the selected acrylic paint. Equip yourself with a trisodium phosphate (TSP) solution to effectively clean the surface before applying the paint. In the presence of peeling paint or damaged wood, a wood stripper may prove useful. A primer, or undercoat, is recommended to ensure optimal paint adhesion.
Applying the primer: Before painting, the primer coat is essential. It evens out the surface and prevents adhesion problems. Apply it carefully, covering the entire wood surface uniformly. Respect the drying times indicated by the manufacturer before moving on to the paint.
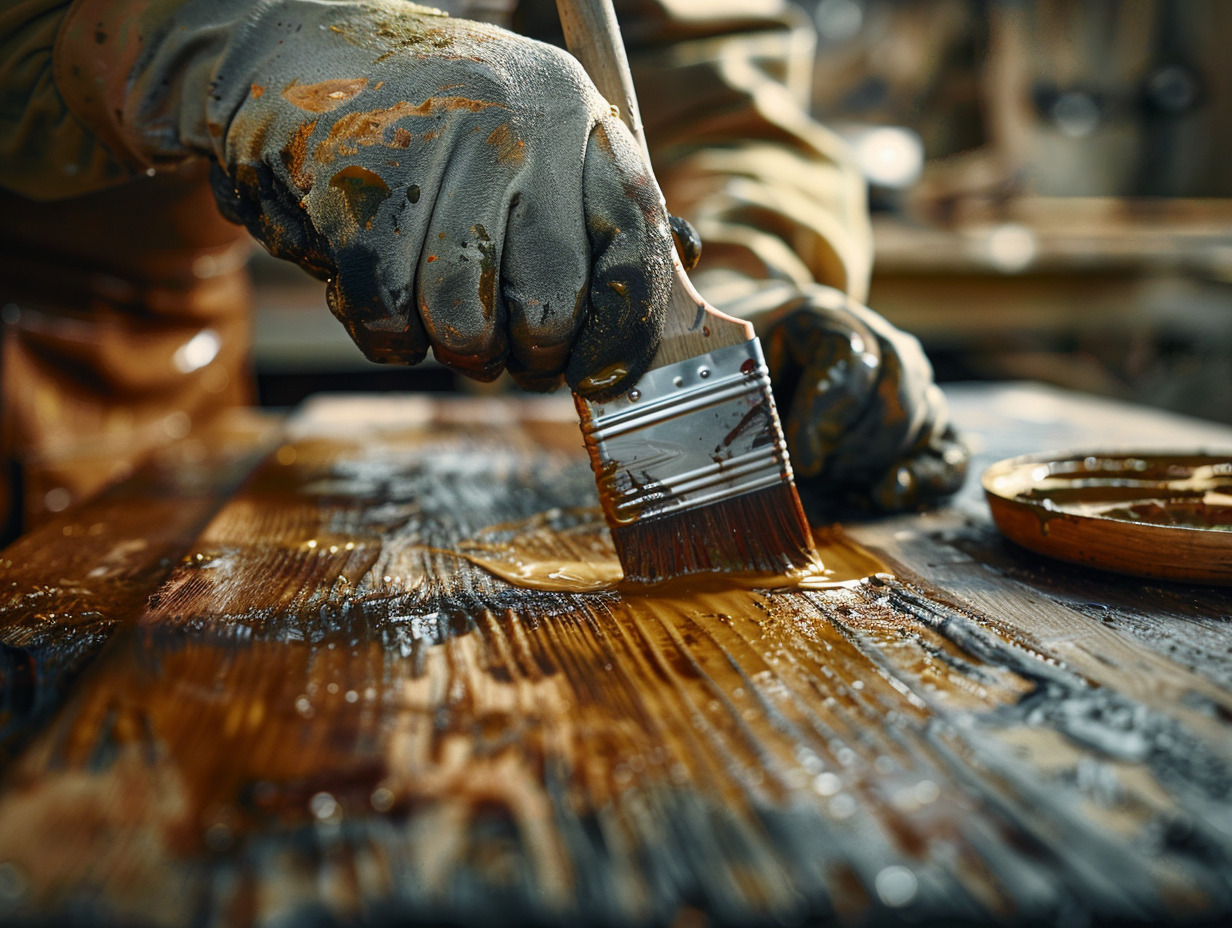
Color application: The paint, chosen based on its final use, whether interior or exterior, should be applied in thin layers. For a uniform result, paint in the direction of the wood grain and avoid thick layers. Between coats, light sanding may be necessary to eliminate any roughness and promote adhesion of the next layer.
Finishing and protection: After painting, consider applying a wood varnish. This protects your work and provides a pleasant finish while highlighting the wood grain. There are multiple finishes: waxed, oiled, varnished, cerused effect… Each choice adds extra resistance and a particular aesthetic, allowing you to enhance the work and present a unique piece with a silky and expressive finish.